Beer-y Christmas Advent Calendar
Finally, an advent calendar that adults can get excited about! Traditionally, advent calendars are simply little windows you open each day, leading you to a tiny piece of chocolate. Now that is just a thing of your past. We’ve matured. I mean, sure, the chocolate ones are still awesome, but we have certainly come a long way in creating more elaborate and personalized advent calendars.
The countdown to Christmas can be made extra fun when you’re motivating it with a treat every day. With a boozy surprise inside each day, and you’re most definitely winning the Holidays.
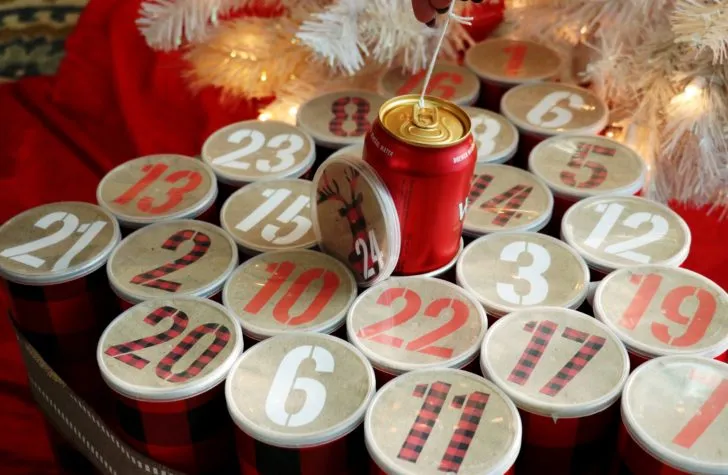
In ours, we decided to highlight the trend of CRAFT BEERS. Each can contains a different craft beer, so the lucky owner of the advent has the opportunity to enjoy something new, every day of the advent.
What’s great about this advent calendar, is that after you’ve completed the 24-day countdown, you can put away the emptied calendar to be refilled, year after year.
While this is definitely a DIY project, it’s not difficult to do and we are setting you up for success with FREE PRINTABLES found below, to complete this with as little effort as possible.
Follow along with the video, and our step-by-step instructions below to make your very own Beer-y Christmas Advent Calendar!
Oh, and by the way…not into beer? There are tons of different options at your local liquor store with mini varieties of wine and liqueurs for customized preferences!
Ready? Happy crafting!
STEP BY STEP:
1. Gather all your supplies, listed on the first page of your printables.
2. Print your 5-page printable on regular printer paper. Cut out your circle printables (provided in the zip folder attachment below). When printing, be sure to print it in full size so that the cutouts are perfectly fitted for this project, avoid selecting “Fit to Page,” “Scale to Fit” or “Crop to Fit”.
2. Empty 24 chip cans (we used Pringles), and wrap the outsides in a Holiday wrap of your choosing.
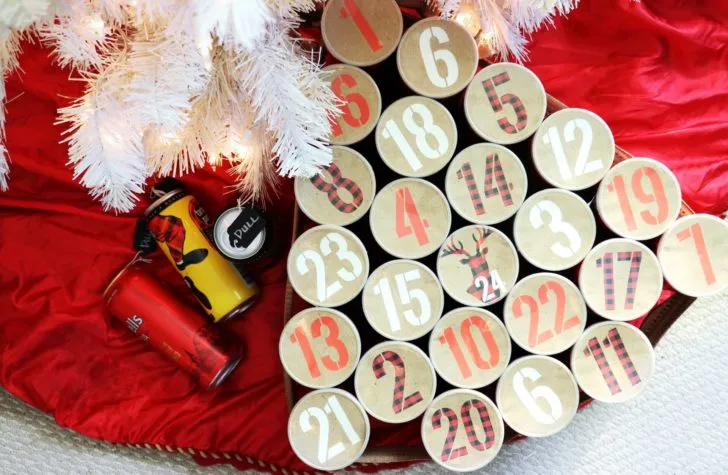
3. Align them into a tree-form by creating rows as follows, starting from the top of your “tree” shape… Row 1: 1 can, Row 2: 2 cans, Row 3: 3 cans, Row 4: 4 cans, Row 5: 5 cans, Row 6: 6 cans, Row 7: 3 cans (for a total of 24).
4. After you’ve figured out your line-up, place extra strength glue dots at the top and bottoms of each can to keep them in place. You can also use a glue gun for this.
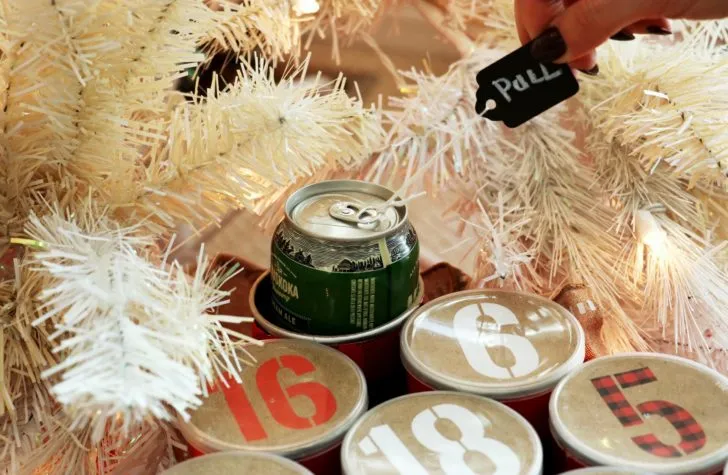
5. Fill each can with some kraft crinkle paper, or tissue paper if you choose. This will help support the beer can or liquor bottle to sit a little higher in the can, making it easier to pull out.
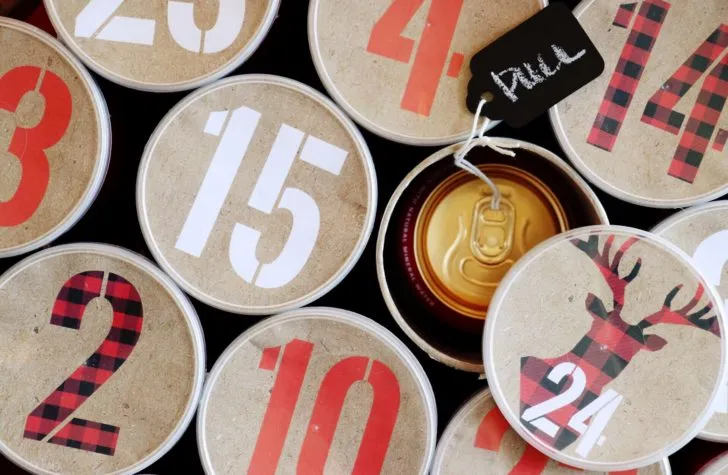
6. Make a “pull” for each advent item using ribbon or a chalkboard tab on a string (we found ours at the dollar store!) around each beer tab, or bottleneck. This is essential to the gift receiver being able to actually retrieve their daily treat!
7. Take the number advent cutouts, and put into the inside of the can lid/caps and top each can with numbers 1-24, assorted however you choose.
8. Tie a ribbon around the entire can/tree/structure, as tight as possible. This will help support the entire advent calendar, and add a nice touch.
9. You’re finished! Now all you have to do is the countdown to Christmas! Cheers, friends.
NOTE: If you are planning to move the advent calendar to another location, be sure to remove the cans first. The glue is strong, but not that strong.
DOWNLOAD FREE PRINTABLE HERE
SUPPLIES AVAILABLE FOR PURCHASE ONLINE:
Glue Dots: http://amzn.to/2yybUqY
Buffalo Plaid Wrapping Paper: http://amzn.to/2AGzO5c
Pringles: http://amzn.to/2zCfnIm
Scotch Tape: http://amzn.to/2iSerpl
Paper Scissors: http://amzn.to/2zCwSZ0


